- Home
- Users & Science
- Find a beamline
- Structural biology
- Our beamlines
- ID23-1: Gemini - Macromolecular Crystallography
- Troubleshooting
- Importing csv files for ISPyB
Importing csv files for ISPyB
We recommend to use our intermediate interface py-ISPyB to import your csv file. Beware that there is a bug associated with ISPyB when creating parcels by importing csv files that causes the barcode used for onsite tracking to be null and therefore non-usable. This is a bug that is linked to the backend of ISPyB and that will be fixed when we make the move to ICAT. There is however a way around it. Below you will find a step by step guide to bypass this bug and generate valid barcode. This will also show you how to import csv files.
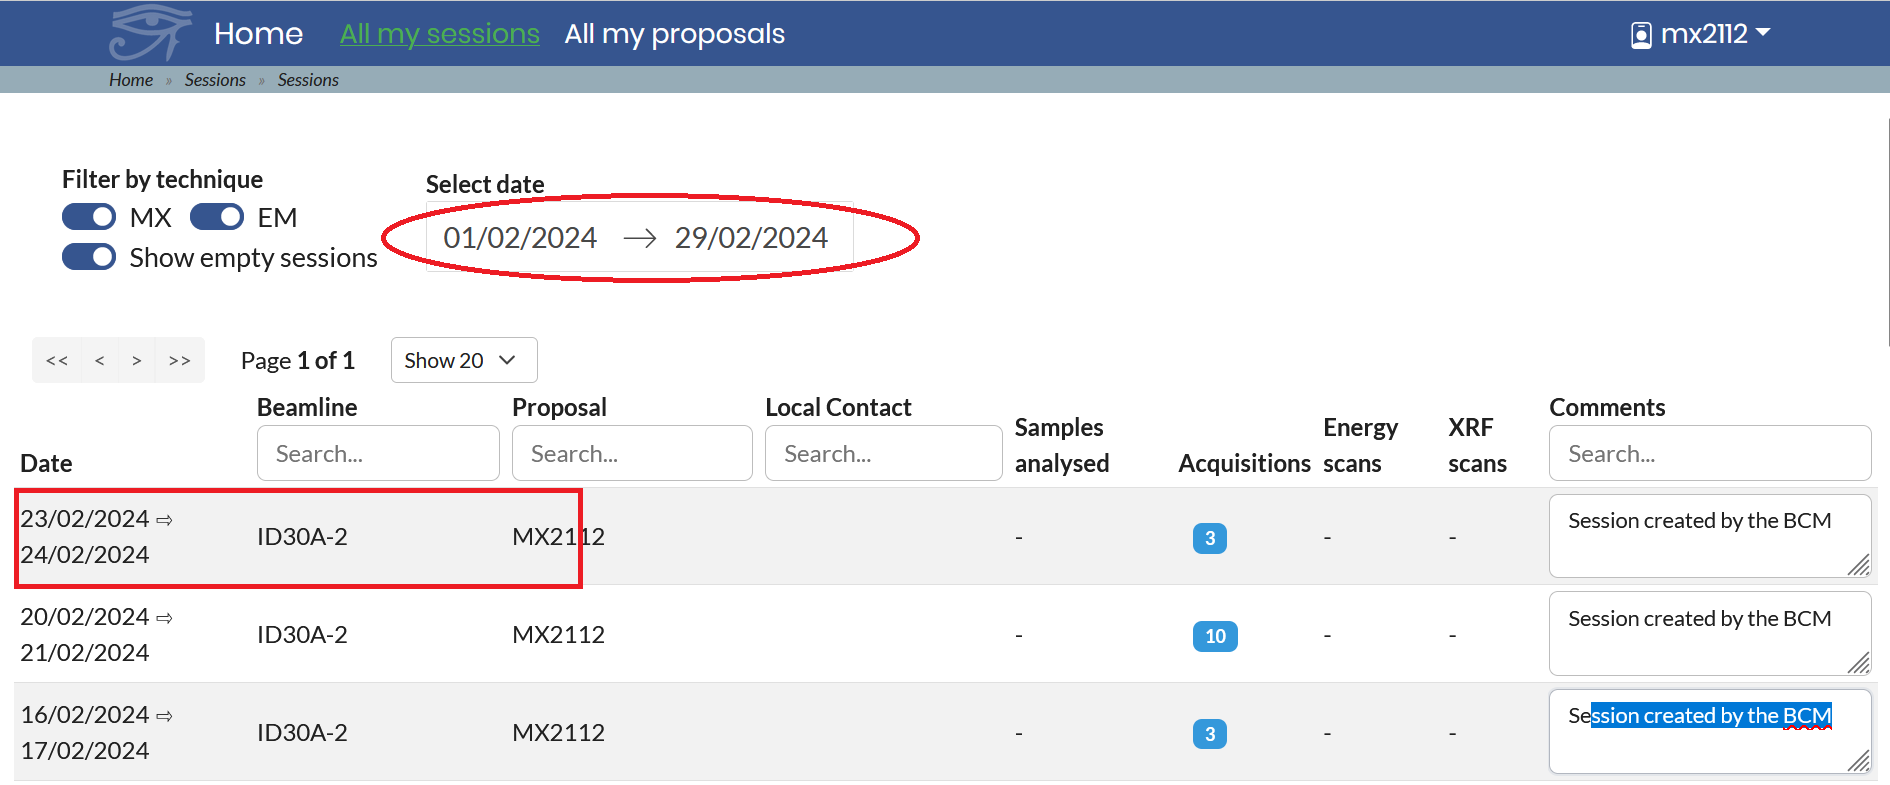
- Log into py-ispyb with your proposal number in a similar way as you would log in to exi.esrf.fr
- Click on a session, if no session appear make sure you set the dates to list previous sessions.
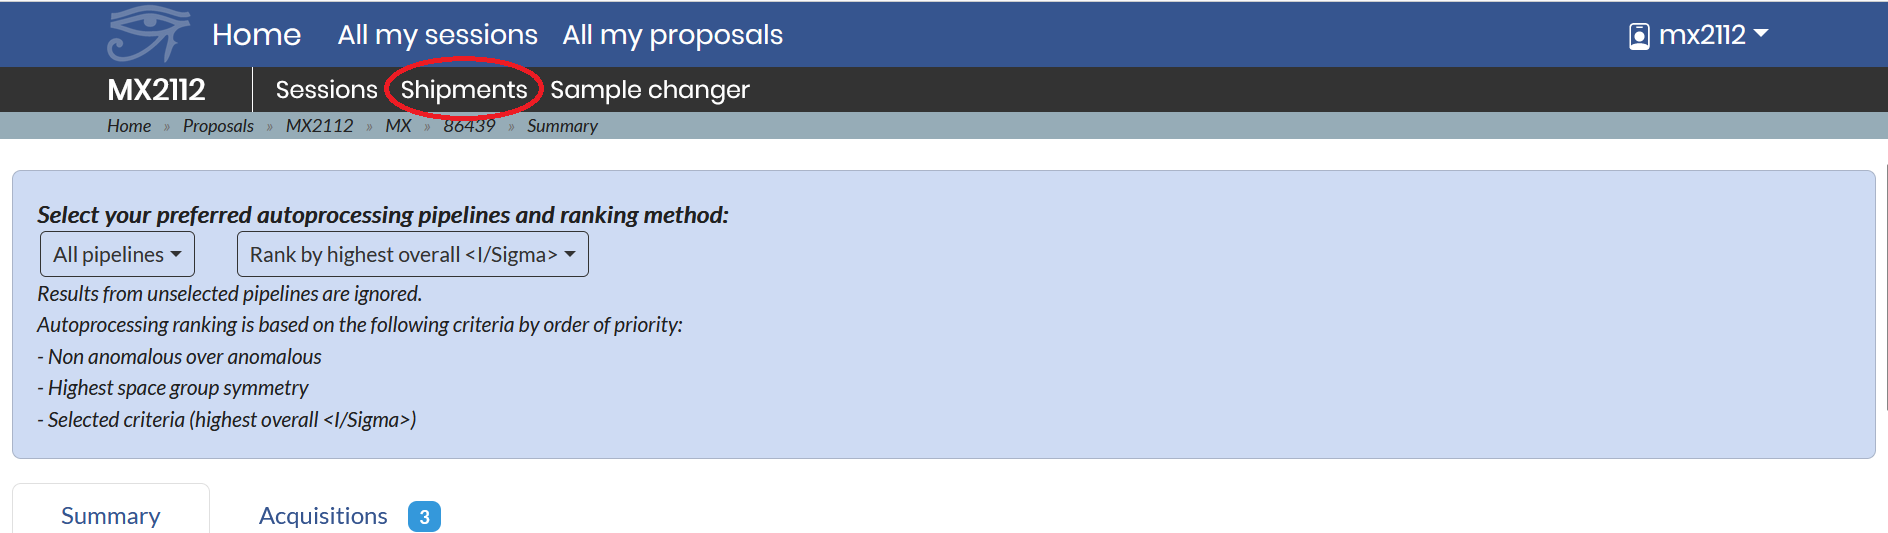
- Click on Shipments
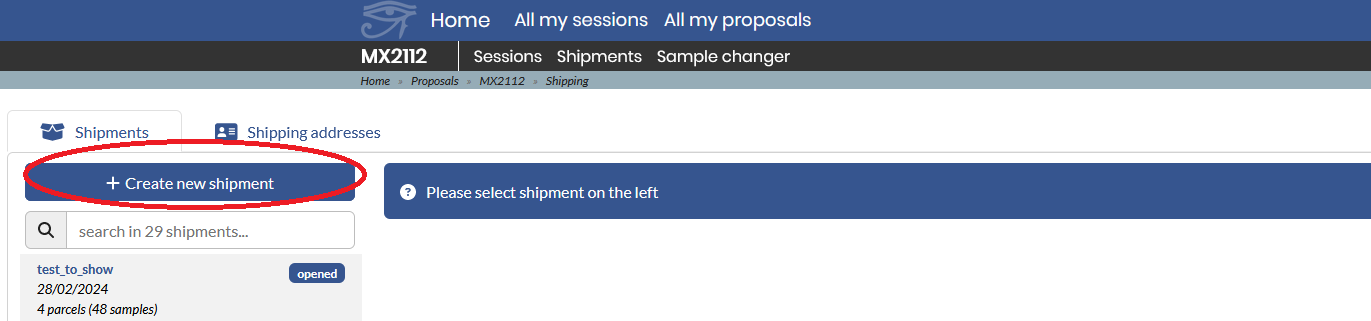
- Create a new shipment
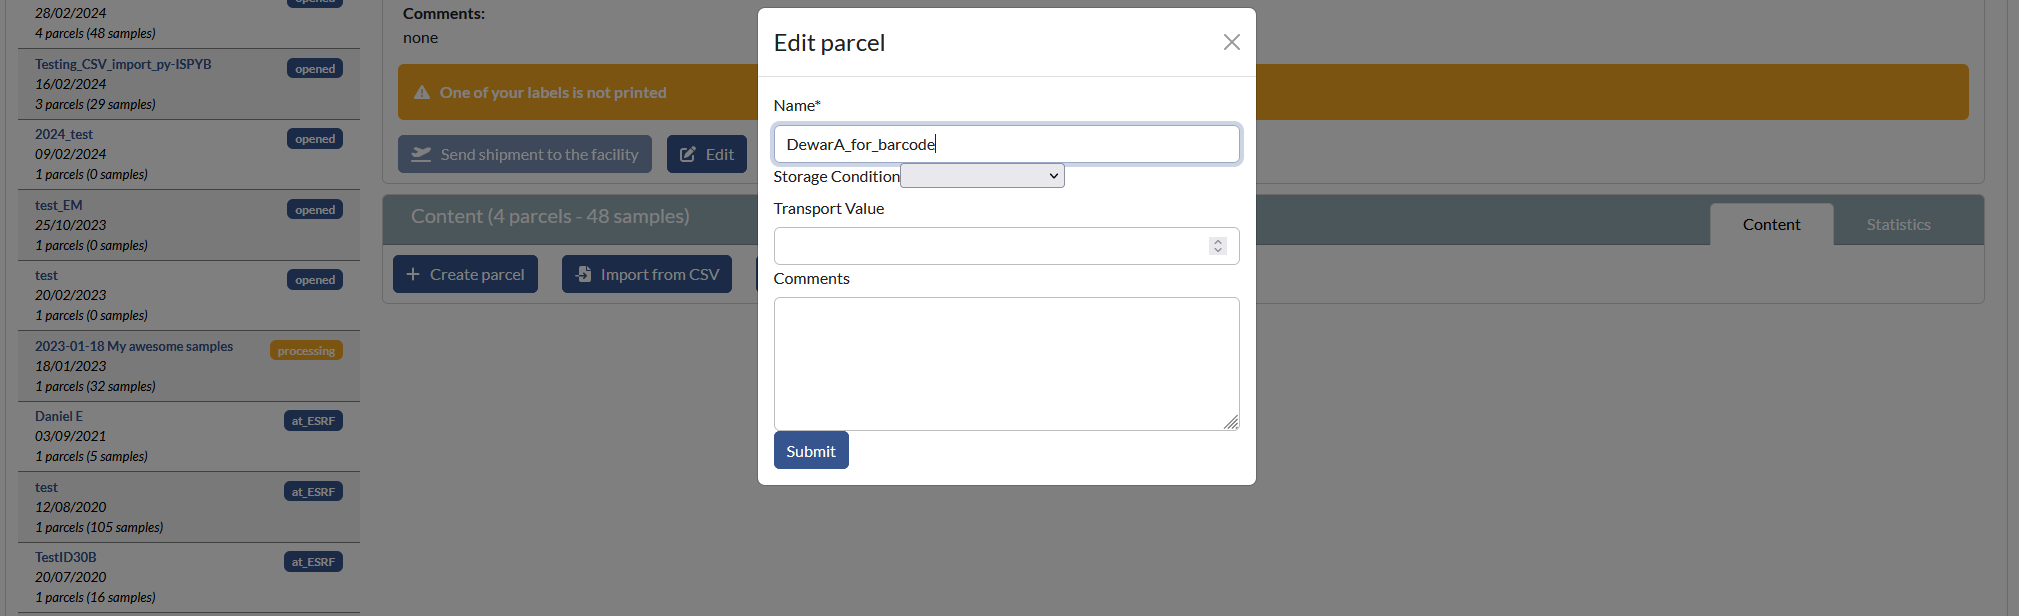
- Click on create parcels.
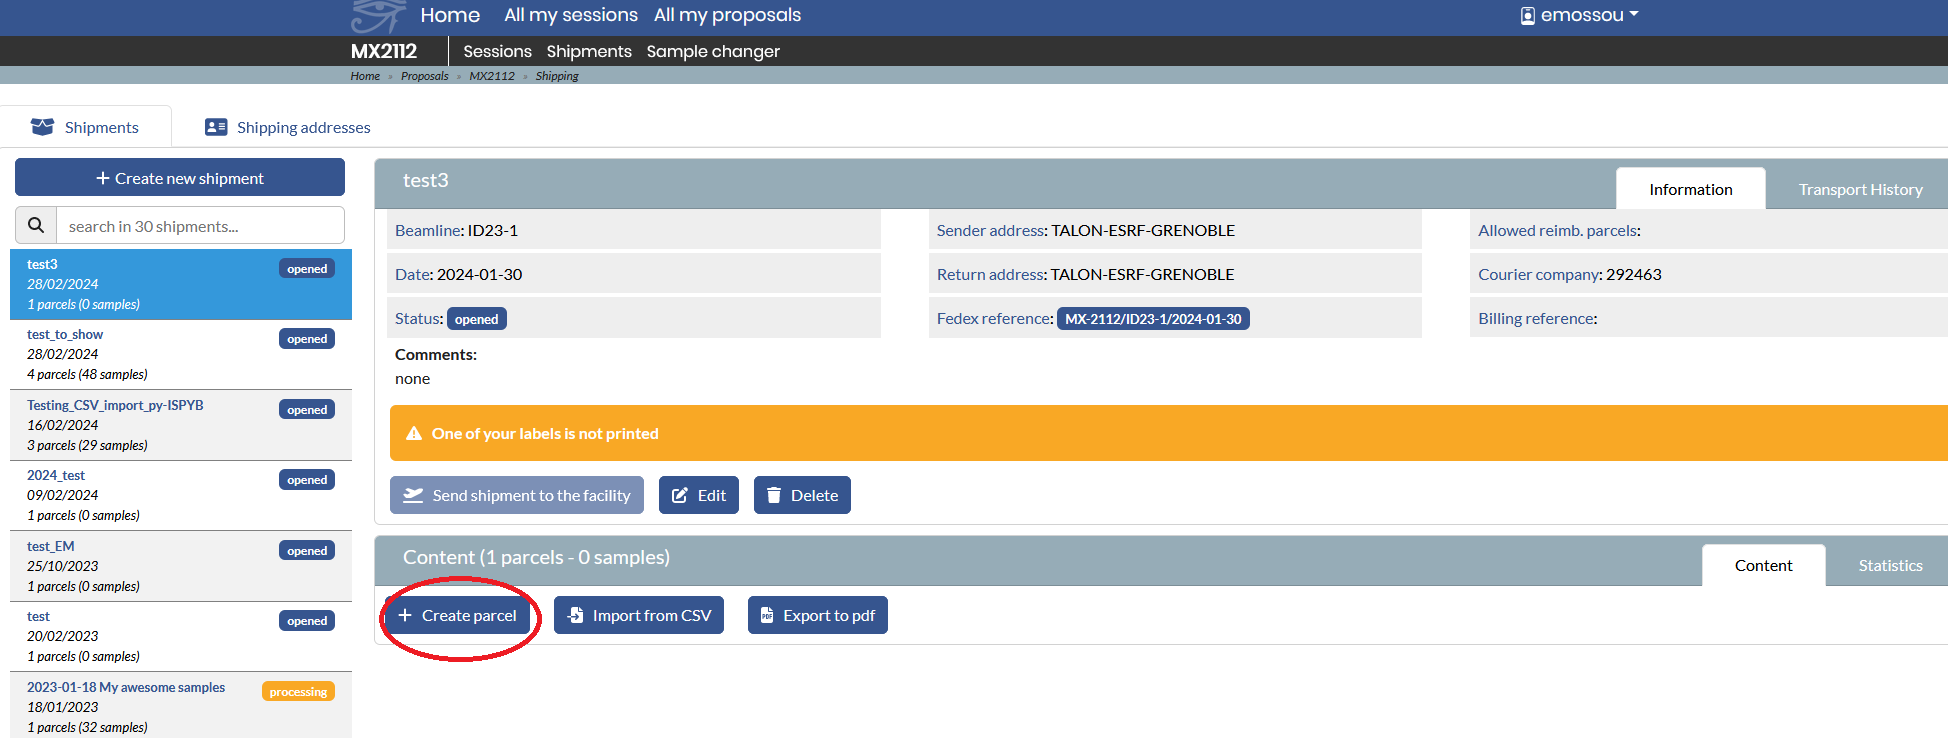
- Choose a name in relation with your dewar(s) name ex: DewarXX_for_barcode. This parcel will stay empty and will be use ONLY to generate a valid barcode
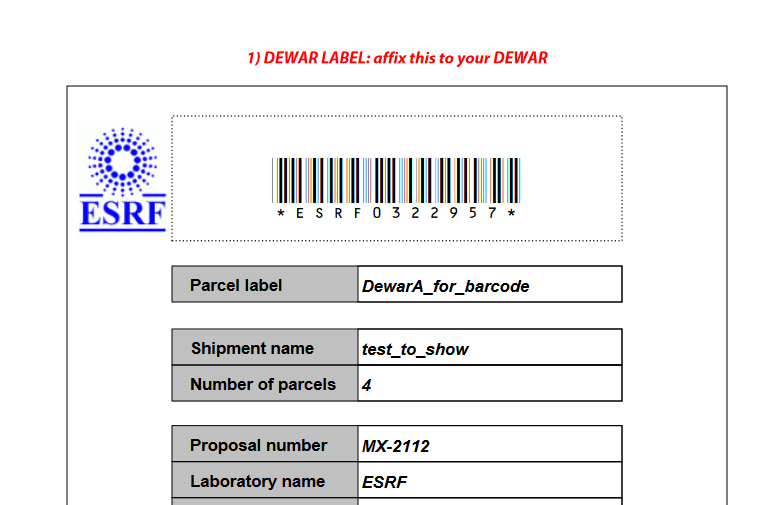
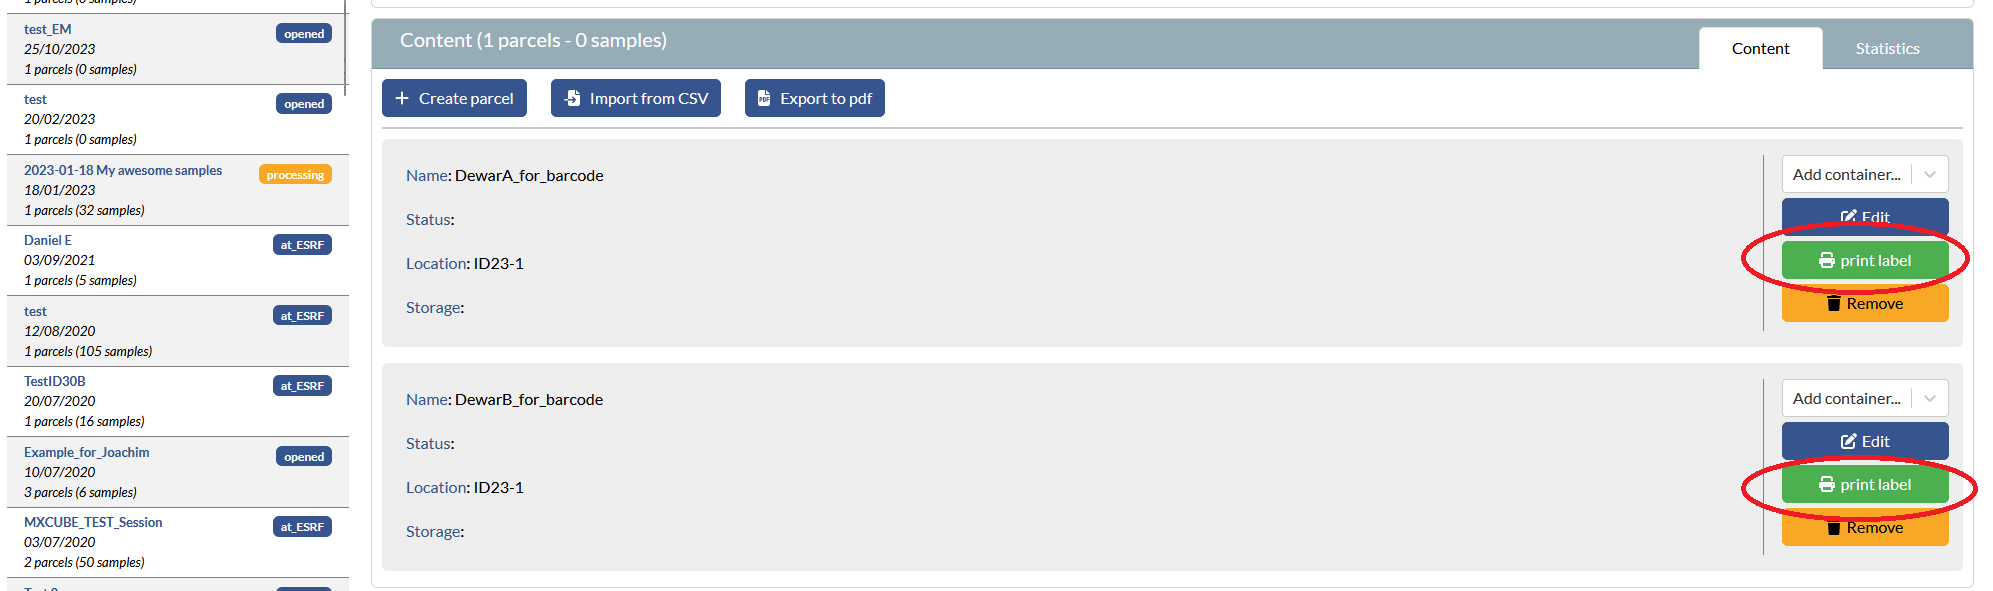
- Click on print labels - the barcode generated should read ESRFXXXX (as below), this is a valid barcode, it should not say NULL.

- Generate as many "empty parcels" as you have dewars adapting the name to match the dewar name_for_barcode each time. Use these to print and put on the dewars. The only side effect is that the number of parcel shown on the label, will then be double the number of dewars actually sent.
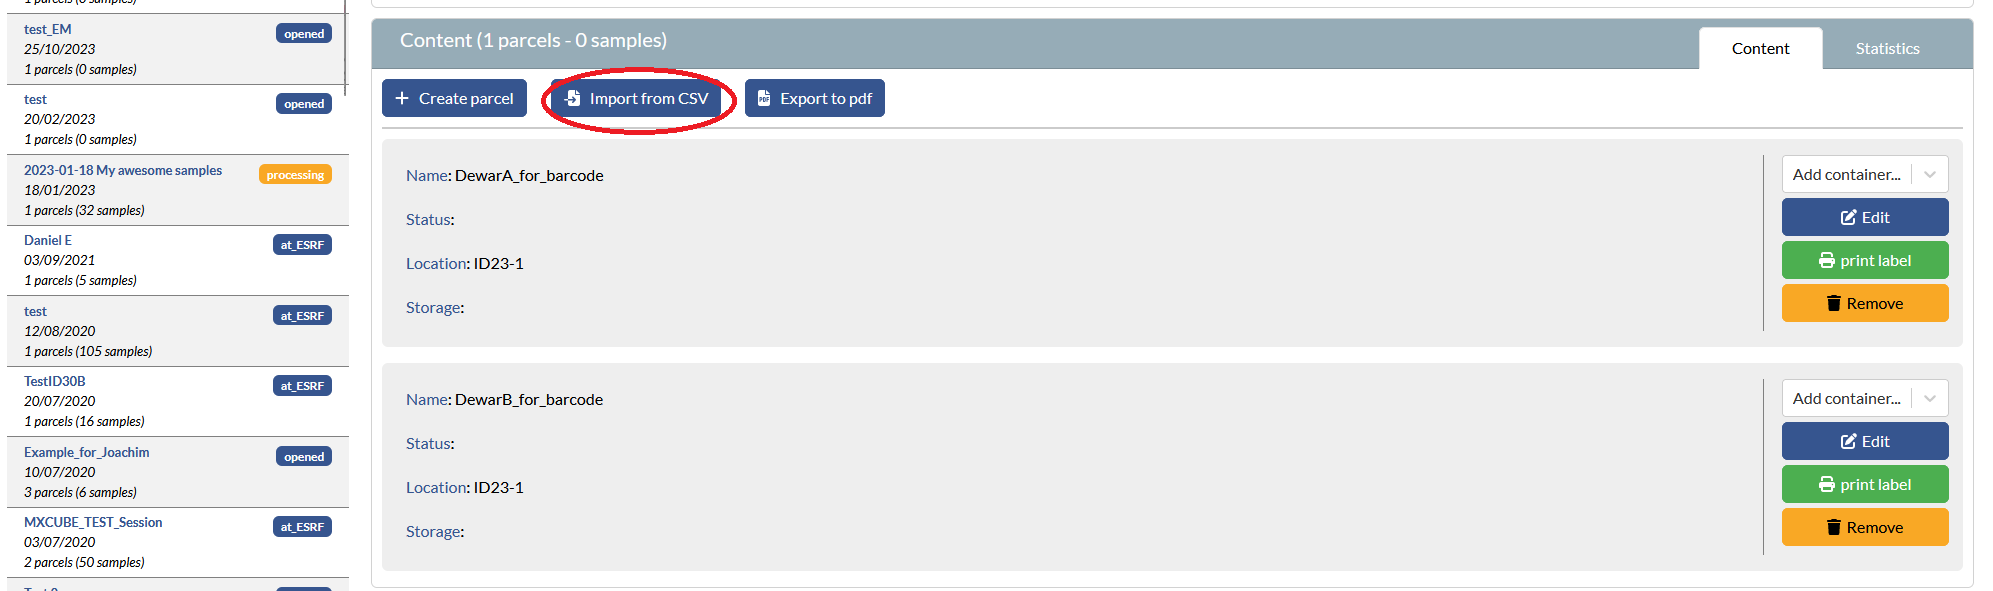
- py-ISPyB is also useful to import csv files as it checks the file for blocking errors, flags them and offers alternatives before saving the file - Click on "import csv"
- You can upload your csv file. There is an example you can download and a link under "click here" with the supported format and details on the column information

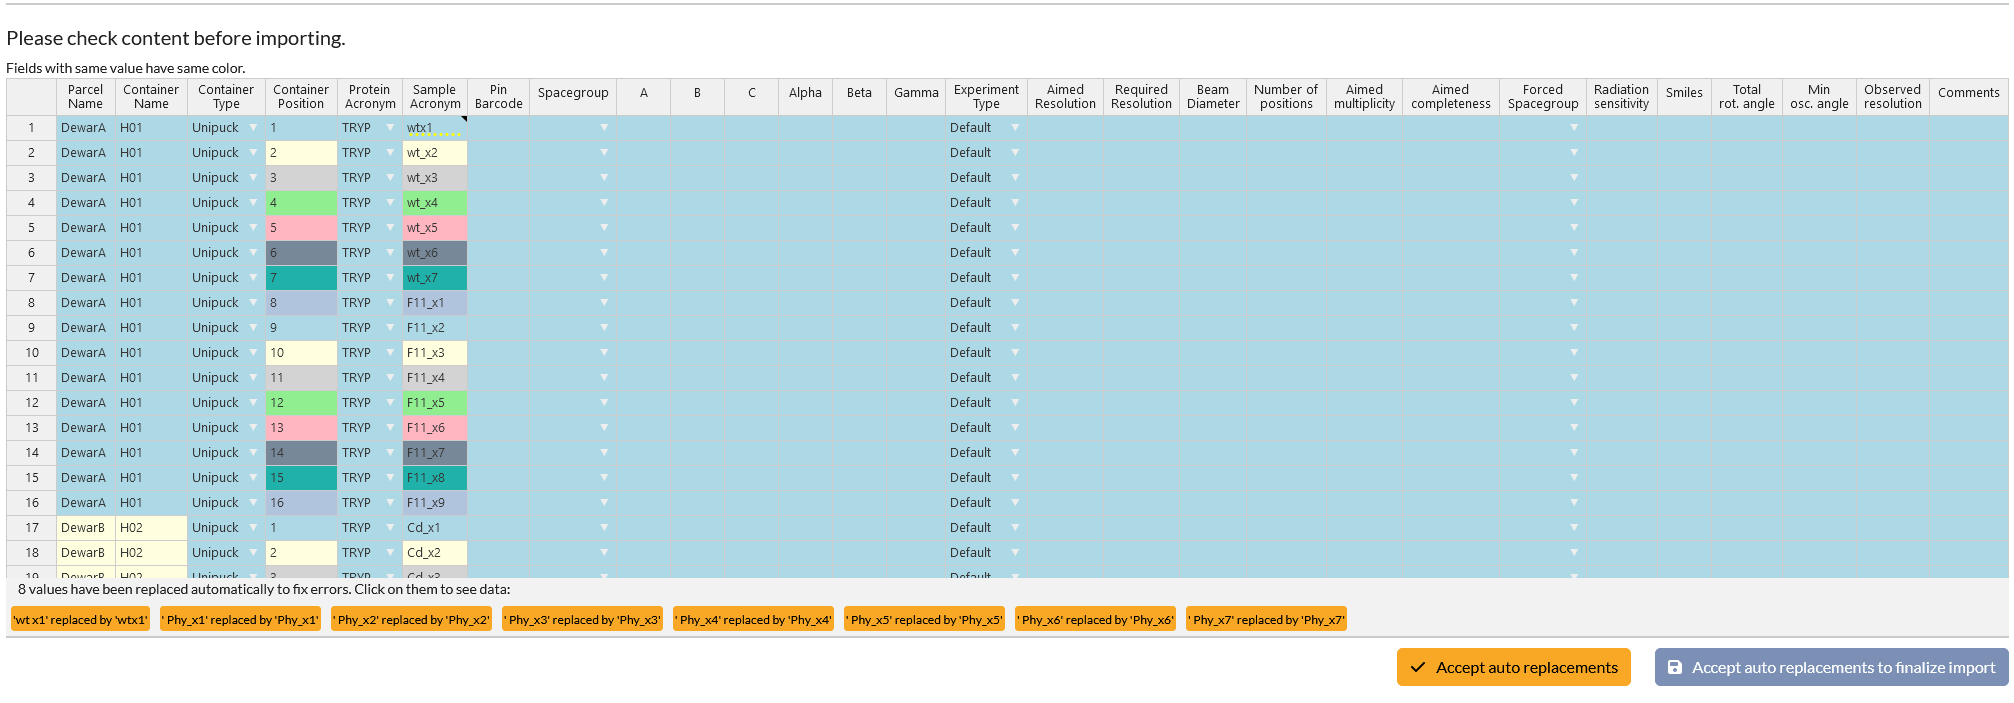
- You will then see the content of your csv file that you can modify. Below you will see the potential issues with your filenames flagged and replacement suggested. You can put all your dewars information into 1 csv file, there is no need to import a file per dewar.
- Click on accept changes and finalize import - you can then close this page
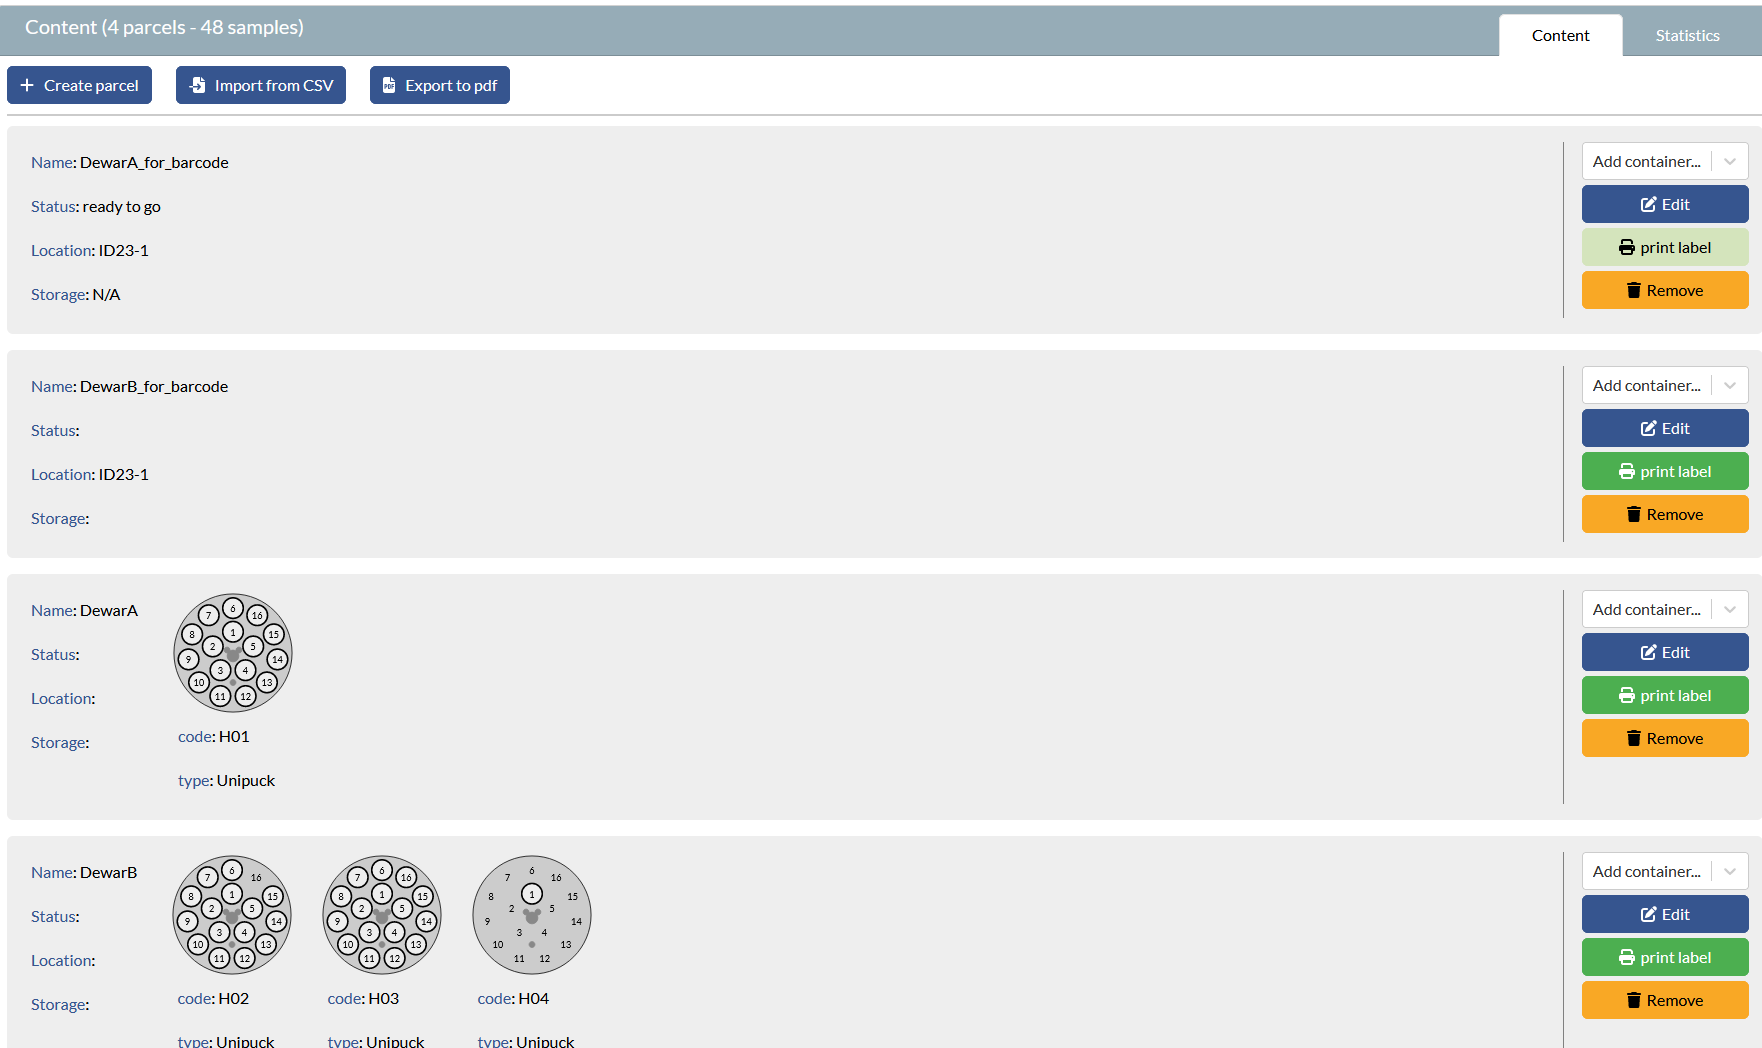
- You should then see all your shipment information as below:
partners


European Synchrotron Radiation Facility - 71, avenue des Martyrs, CS 40220, 38043 Grenoble Cedex 9, France.